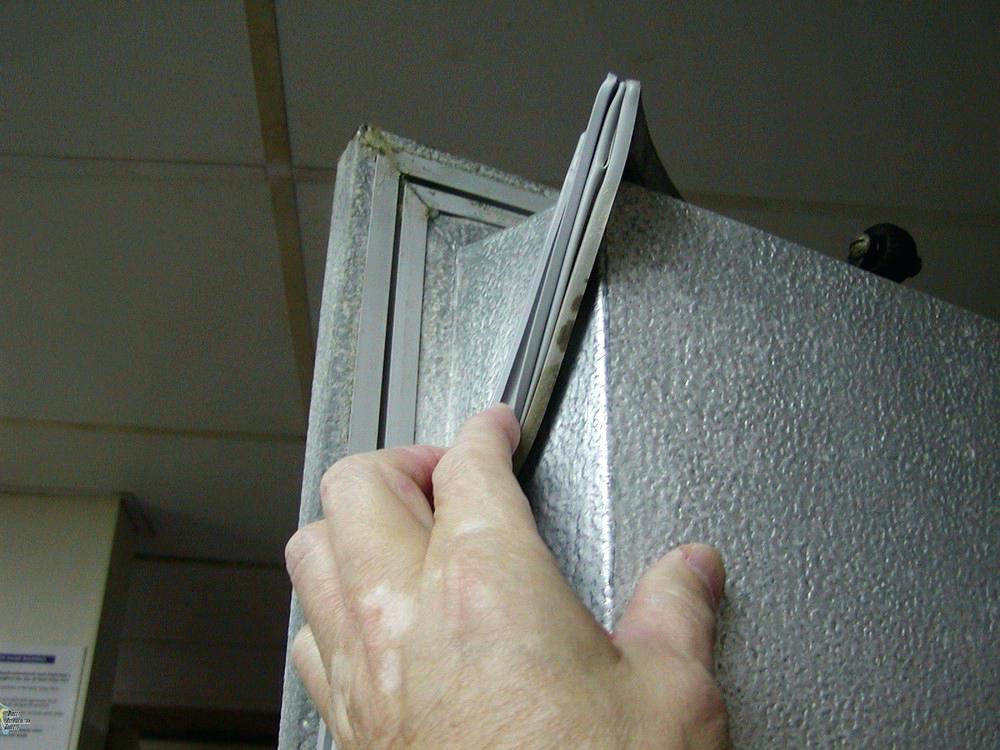
The Importance of Replacing Damaged Cooler Gaskets in Restaurants
Cooler gaskets are an essential component of any restaurant cooler, and they play a vital role in maintaining the proper temperature of stored food and beverages. Over time, cooler gaskets can become damaged or worn, which can cause coolers to lose their ability to regulate temperature efficiently. In this blog post, we’ll discuss the importance of replacing damaged gaskets and offer some tips for maintaining your gaskets in good condition.
What are these?
These are strips of rubber or vinyl that seal the space between the door of a refrigerator or freezer and the unit’s frame. By sealing this space, the restaurant cooler gaskets help prevent cold air from escaping and warm air from entering the unit, which helps maintain the proper temperature inside the cooler.
How to Know if Your Gaskets Need to Be Replaced
- One way to tell if your cooler gasket needs to be replaced is to close the cooler door on a piece of paper and see if you can slip the paper out from under the door. If you can, then it’s time to replace the gasket.
- Another way to check is to look at the gasket itself; if it is cracked, torn, or otherwise damaged, it will need to be replaced.
The Benefits of Replacing Old or Damaged Gaskets
Replacing old or damaged cooling unit gaskets offers several key benefits for restaurant owners, including:
- Improved energy efficiency: When coolers are properly sealed with undamaged gaskets, they don’t have to work as hard to maintain the proper temperature, which can save you money on your energy bill.
- Reduced food spoilage: Damaged restaurant cooler gaskets can allow warm air into the cooler, which speeds up the spoilage of stored food and beverages. By replacing damaged gaskets, you can help keep your food fresher for longer.
- Better temperature control: Properly sealed coolers maintain a more consistent internal temperature, which is essential for food safety.
How to Replace Restaurant Cooler GasksETS
Installing new cooler gaskets is a relatively simple process that most restaurant owners can do themselves; however, if you’re not confident in your ability to do so, we recommend calling a professional.
Here are some tips for replacing your own cooler gaskets:
1) Measure the old gasket: Before ordering a replacement gasket, you’ll need to measure the old one so you can order one that fits properly. To do this, use a tape measure to measure the length and width of the old gasket.
2) Order the new gasket: Once you have your measurements, order a replacement cooler gasket from a reputable supplier. Be sure to double-check your measurements before placing your order so you don’t end up with a gasket that’s too big or too small.
3) Remove the old gasket: Once your new gasket arrives, open up your cooler and remove the old one. Carefully pry it off using a putty knife or another sharp object; be careful not to tear or damage the new gasket in the process (we recommend lightly scoring it with a utility knife first, so it’s easy to remove).
4) Install the new gasket: To install the new gasket, start by peeling off backing paper (if there is any). The new gasket is placed in the channel to ensure it is fully seated. If there are any gaps or other problems, replace the current one and start again. After you’re happy with how the new gasket looks, allow 24 hours for it to recover before closing up.
Endnote:
So, there you have it – everything you need to know about replacing your refrigerator or freezer’s gasket. By following the tips in this blog post, you can help ensure that your cooler is running efficiently and keeping your food at the proper temperature.


